DIY Tile Installation: A Step-by-Step Guide for Beginners
Getting Started with DIY Tile Installation
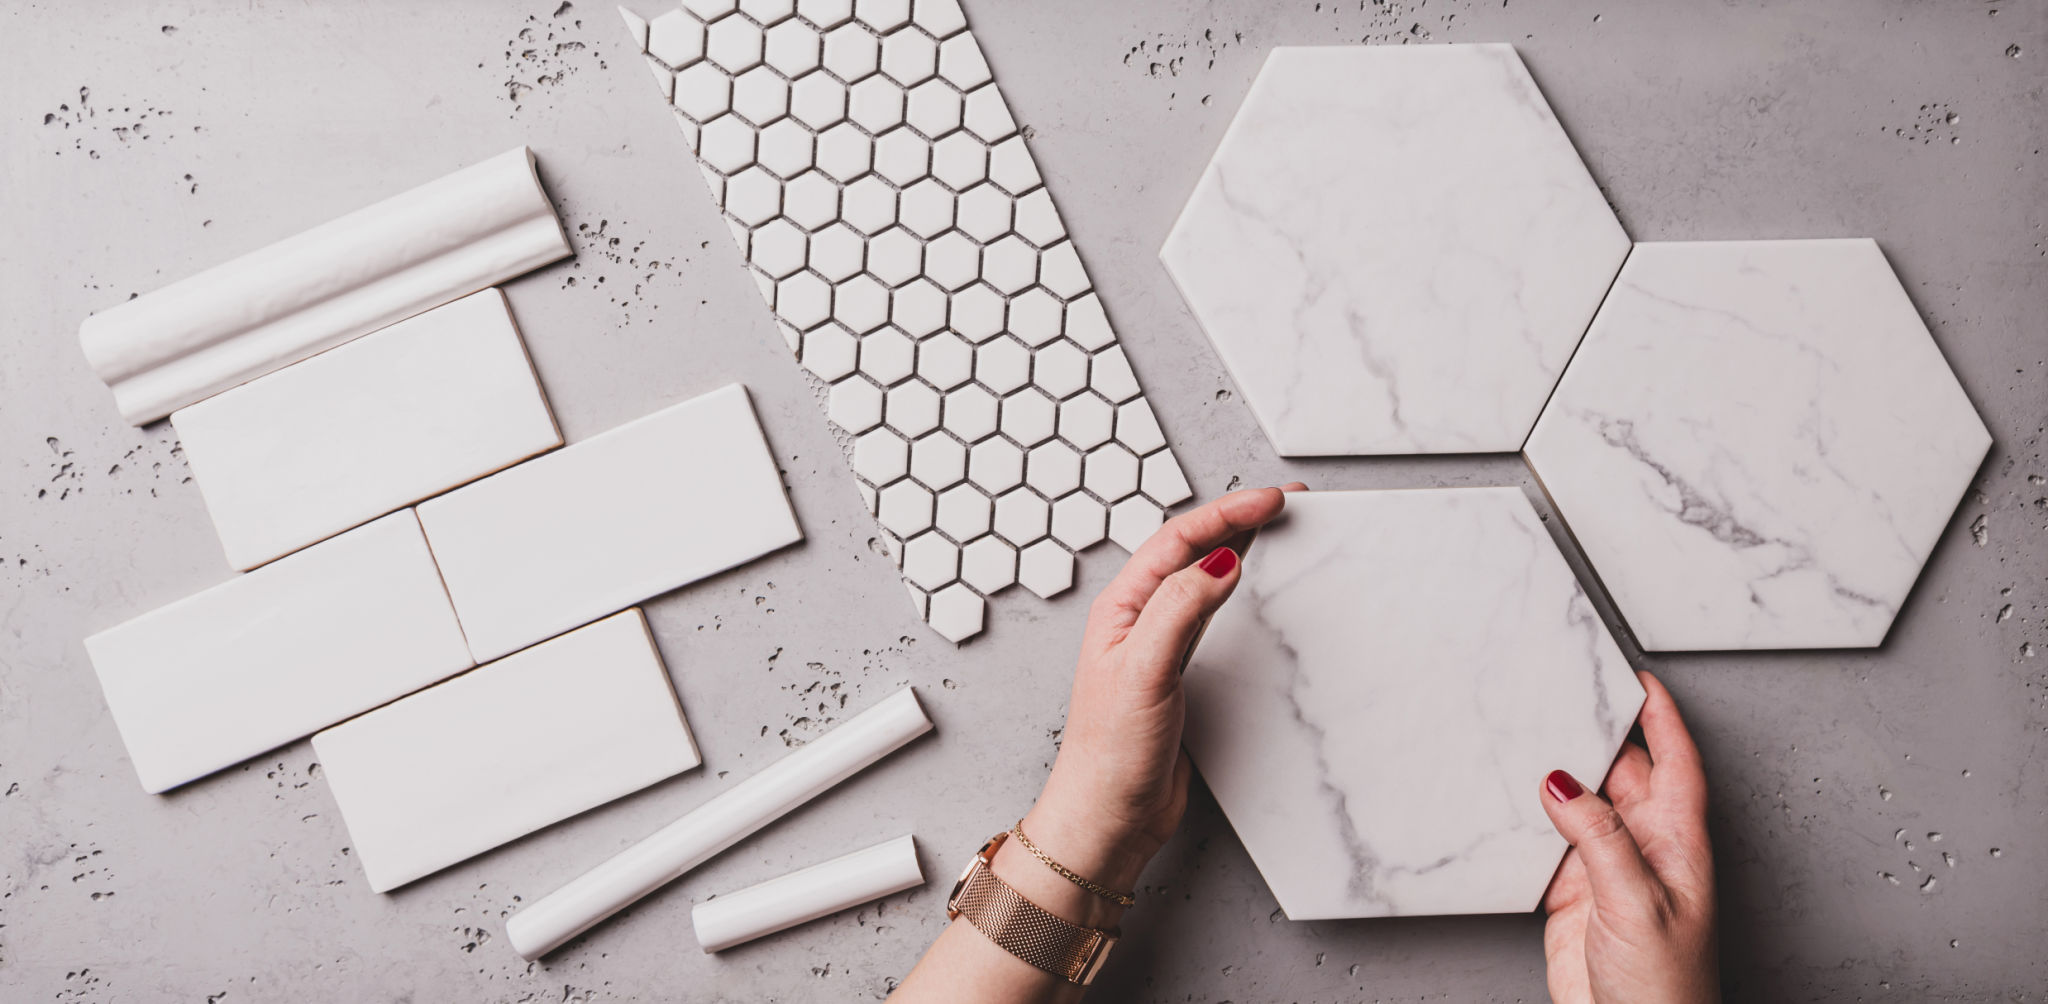
Embarking on a DIY tile installation project can seem daunting at first, but with the right tools and guidance, it can be a rewarding experience. Whether you're updating a kitchen backsplash or renovating a bathroom floor, understanding the basics is crucial for a successful outcome.

Gathering Your Materials
The first step in any tile installation project is gathering the necessary materials. You will need tiles, adhesive, grout, a notched trowel, a tile cutter, a level, and spacers. Investing in quality tools will make your job easier and the results more professional.
Before purchasing your tiles, calculate the area you need to cover and buy about 10% more tiles than your measurements suggest. This extra allows for cutting mistakes and future repairs.
Preparing the Surface
Proper surface preparation is essential for a smooth tile installation. Ensure the surface is clean, dry, and level. If you're working on a floor, consider using a self-leveling compound to address any dips or uneven areas.

For walls, remove any wallpaper or flaking paint and patch holes or cracks. A clean and even surface will help the tiles adhere better and prevent future issues.
Laying Out Your Tile Design
Before applying any adhesive, lay out your tiles to determine the best pattern. This step allows you to visualize the final look and make any necessary adjustments. Use a level and spacers to ensure even lines and symmetry.
Consider starting from the center of the area and working outward. This approach helps in creating a balanced design, especially in visible areas.
Applying Adhesive and Setting Tiles
Once you're satisfied with your layout, it's time to apply the adhesive. Use a notched trowel to spread the adhesive evenly over a small section of the surface. Press each tile firmly into place, using spacers to maintain even gaps for grout.
Work in small sections to prevent the adhesive from drying out before the tiles are set. Regularly check your work with a level to ensure a uniform surface.
Grouting and Finishing Touches
After the adhesive has set, usually within 24 hours, you can begin grouting. Remove the spacers and apply grout with a rubber float, pressing it into the gaps between tiles. Wipe away excess grout with a damp sponge.

Allow the grout to cure as per the manufacturer's instructions before cleaning the tiles with a dry cloth. Finally, apply a sealant to protect your work and enhance durability.
With patience and attention to detail, DIY tile installation can transform your space beautifully. Embrace the process and enjoy the satisfaction of completing your project. Happy tiling!